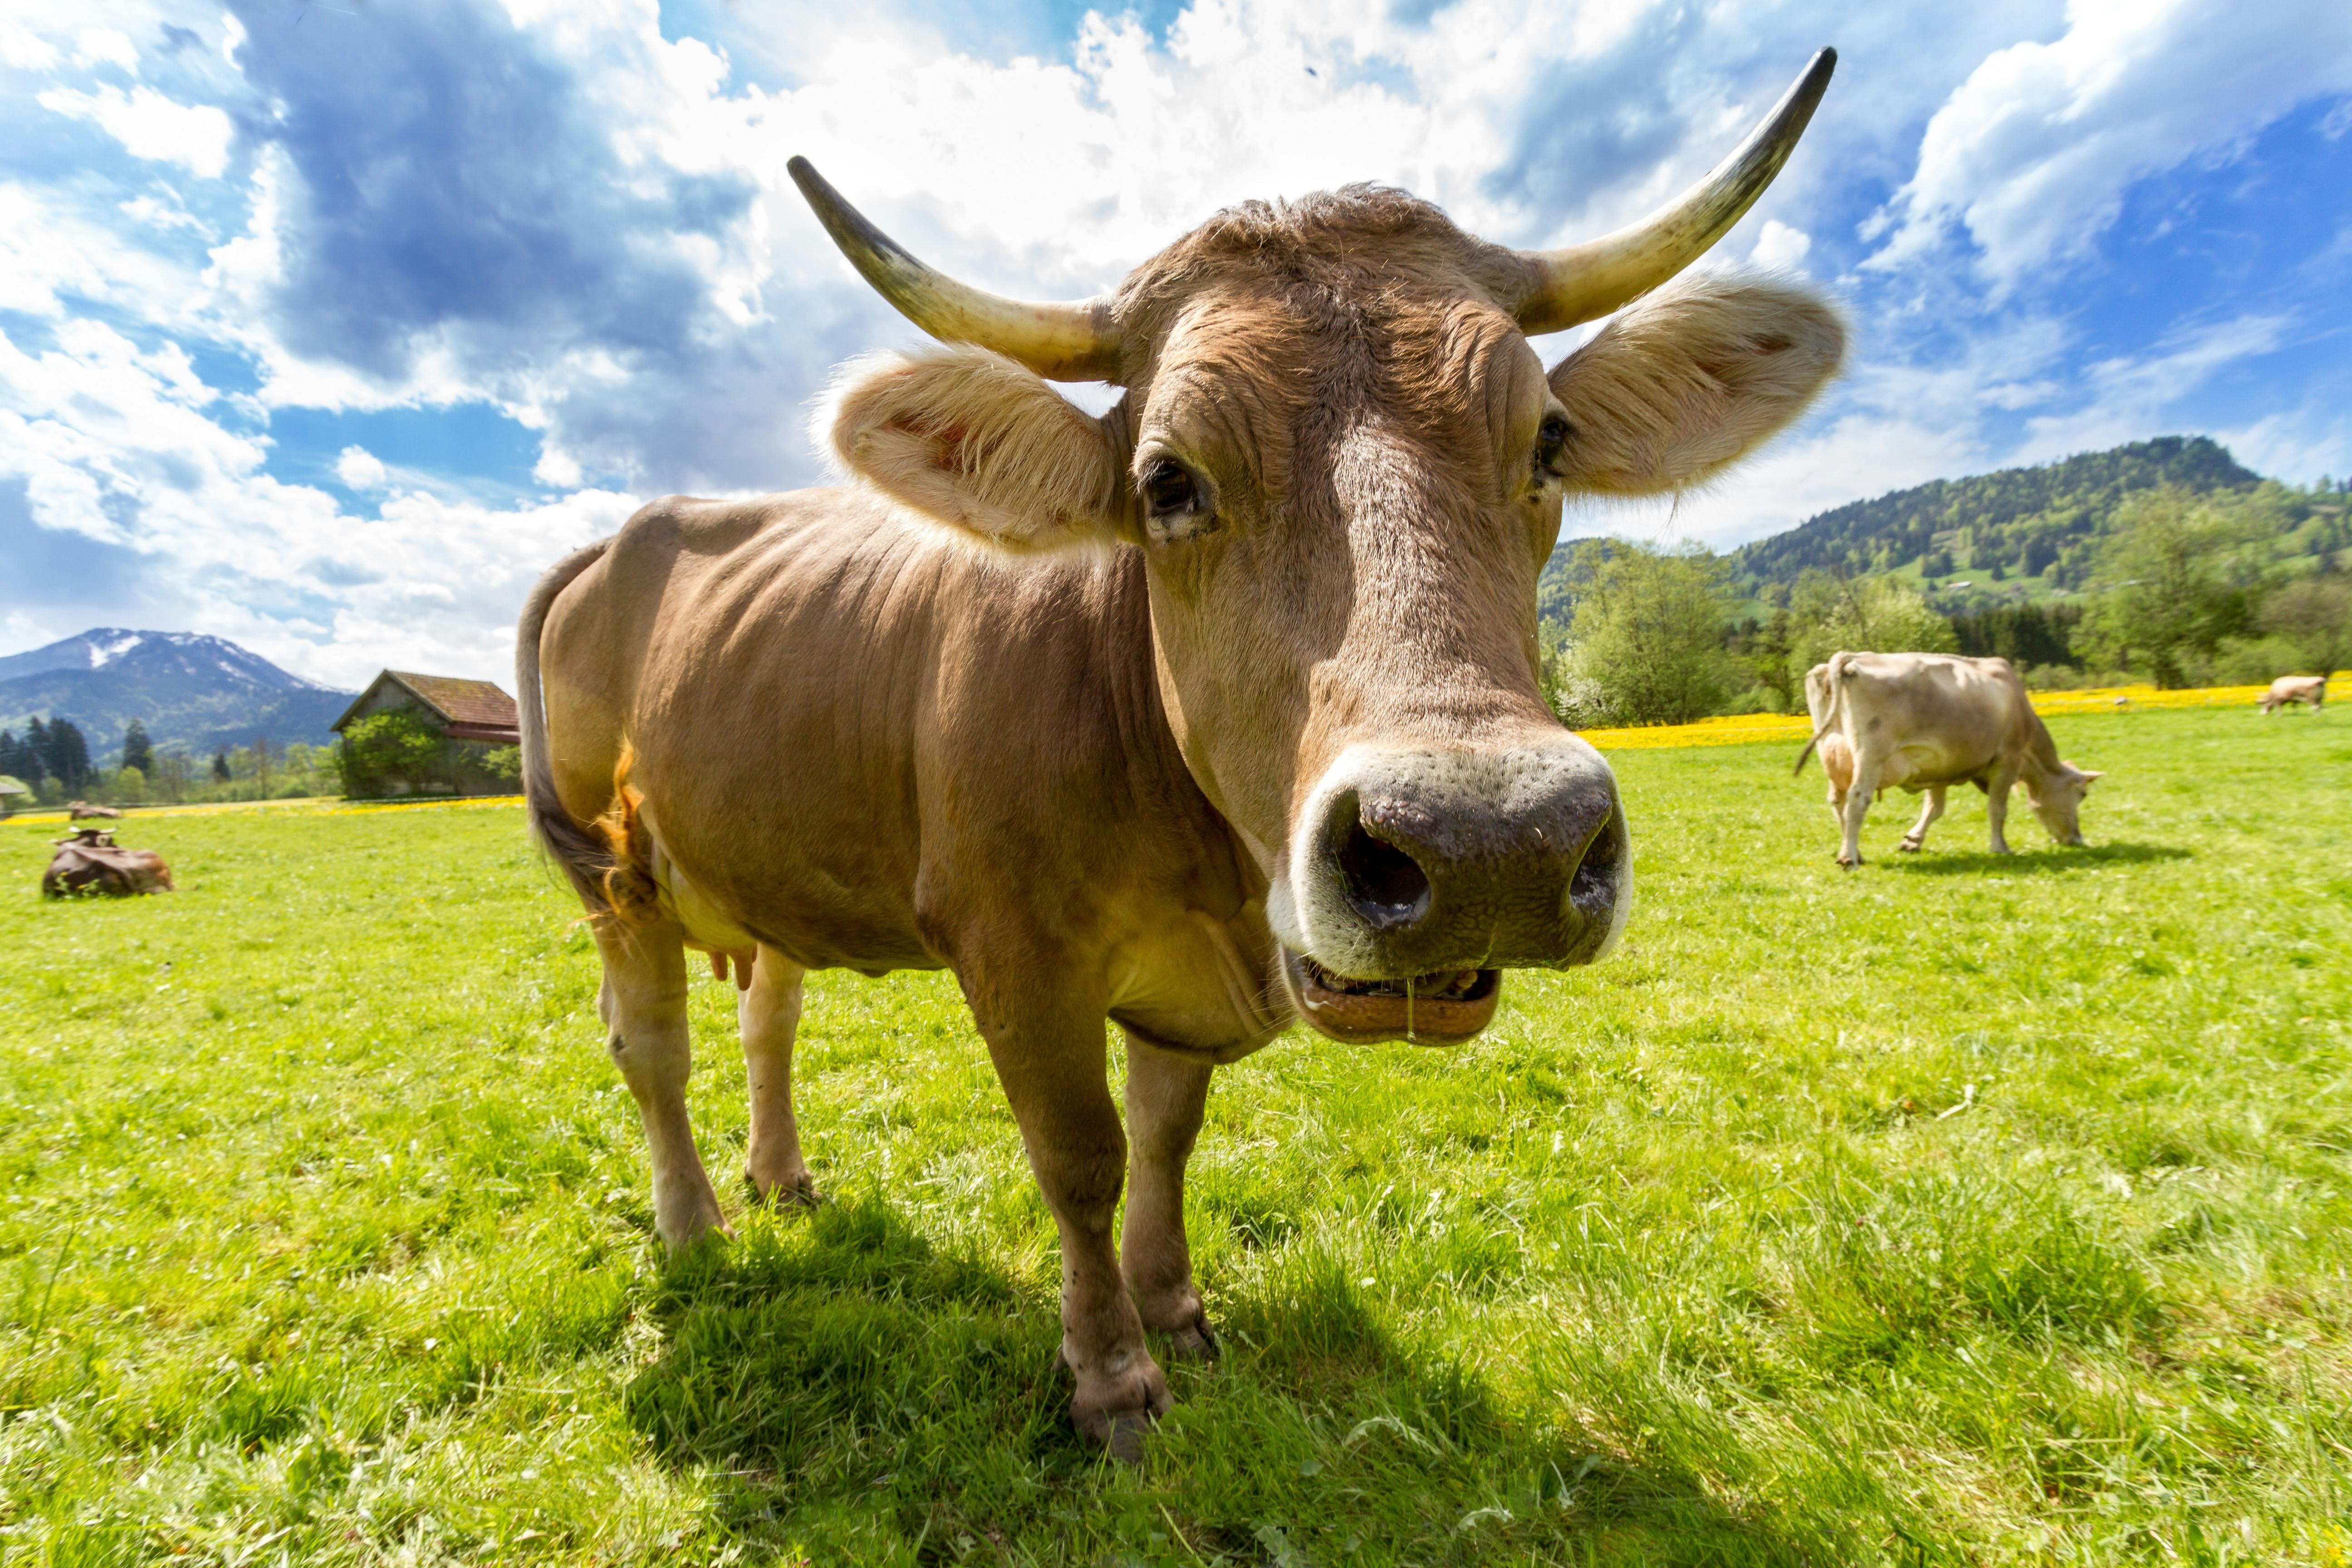
If you are a farm that practices disbudding/dehorning of your animals, it is important to have everything ready to go once you have animals on the ground. This is not a pleasant procedure, but necessary if you raise certain classes of animals. Both males and females have the potential to grow and develop horns, unless they are naturally polled, so count on devoting a good chunk of time to this each year. To have a successful result, you should check bud development daily as soon as the babies are born. Horn growth varies between animals. Sex, breed, species, will all affect how fast a bud will emerge and how much time you have to stop the horn from fully developing. In order to have the best result, the bud needs to be emerged from the growth plate but still fits within your iron.
A dehorning iron is going to be your quickest and most efficient way to remove the bud. There are two types available: an electric plug in or a wirefree gas/butane powered dehorner. I personally like the butane dehorner the best. I feel it heats the iron up the quickest and gives the most range of motion since there isn’t a cord in the way. But either iron will work, you just have to see which you prefer. To use the dehorning iron, you want to make sure you give it enough time to heat up. It is helpful to have a scrap piece of wood as a tester block to test the temperature of the iron. Once you can sear a full circle into the wood without a lot of pressure, you can start disbudding.
Proper animal management is also key to a successful disbudding session. Although this process will only take a few seconds per animal, it is still important to minimize pain. To prepare the animals, plan on clipping the hair on its poll, around the horn buds. Using a product, like Dr. Paul’s Dull-it, will also help ease the pain. Make sure the animal is properly restrained, within a dehorning box, a squeeze chute, or being held tightly by helpful hands. Now that the animal is prepped and ready to go, it’s time to get started. Make sure the dehorner makes full contact with the skin around the bud. You will want to apply some light pressure and twist the dehorner to make sure the entire base is equally seared. When you see a copper ring around the horn base, you know you are done. To finish up, use a topical anti-septic spray to help cool down the poll and add an extra layer of protection. If using a dehorning iron is not for you, there are also caustic pastes, bands, and other less common methods to dehorn your animals. If the buds or horns are too big to use a dehorning iron, you may need to have your veterinarian out to do a surgical procedure. NOP standards do allow dehorning/disbudding if it is done at the recommended age with appropriate equipment. Effective pain relief must be used during the dehorning/disbudding process. Check with your certifier for further information.
When done correctly, disbudding is a very effective management tool. It can help prevent injury to animals and humans, reduce the amount of feeder space needed, and makes it easier and less dangerous to handle and transport animals. With a little practice and mentorship disbudding your animals can be a relatively painless practice for you and your animals.
